How to create consistent characters in Stable Diffusion
aka how to fix the biggest issue with generative AI images
Hello, Josh from Mythical AI here. My baby boy just got two bottom teeth, and it is surprising how hard he can bite 🦷👶🏼. Let’s jump into this week’s AI deep dive!
Generative AI art has a problem with character consistency. You can make awesome images, but the images are going to be different each time, due to the nature of diffusion models, (explained here).
This is good if you want to create billions of unique images. This is bad if you want to create one character, in a variety of situations.
Being able to create the same character repeatedly is a requirement for comics, books, stories, film storyboards etc.
We covered how to create consistent characters with Dalle2 and Midjourney here, this week we are focusing on the more powerful of the Big 3 Image Generators, Stable Diffusion.
Stable Diffusion has the most ways to create consistent characters. These methods include:
Use standard characters
More prompt details
‘Find’ your character in the crowds
Run image2image variations to get closer to the character
Textual Inversion training
Dreambooth training
LoRA training
One of everything (method combo)
The easiest method is to use standard characters.
1 - Use standard characters
The easiest way to create consistent characters is to use famous people as the base for your character.
Kris Kashtanova made what is widely publicized as the first AI-generated graphic novel called ‘Zarya of the Dawn’. She chose to use the actress Zendaya as the standard character, or as the basis / inspiration for her character, in order to have character consistency.


The problem with this method, is you recognize the character immediately. Kris named her character Zarya but we all know it is Zendaya. 😁
However, as a quick easy way to get consistent characters, using famous people is a good way to start.
Simply pick a famous person, and then reference them and describe your character’s actions, props, and scenario.
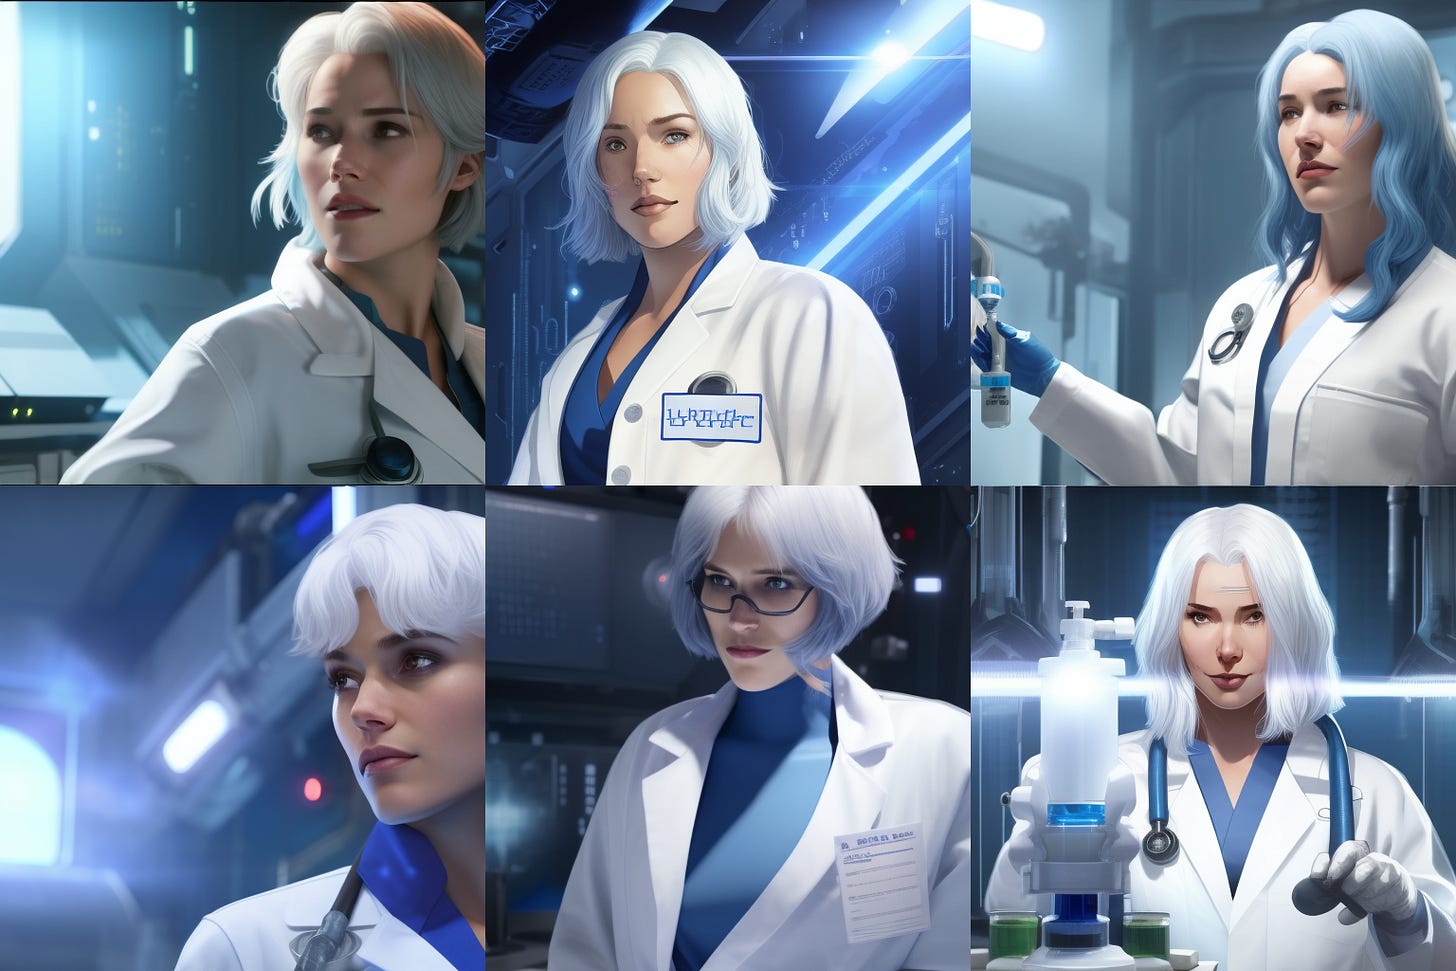
Let’s say I want to create a famous scientist for my comic book. Using Natalie Portman as my standard character, I can create a prompt like this:
‘Natalie Portman as a 25 year old female scientist, (walking in a tunnel), blue hair, wispy bangs, (white lab coat), (pants), smiling, stunningly beautiful, zeiss lens, half length shot, ultra realistic, octane render, 8k’
Because Stable Diffusion knows who Natalie Portman is, I can get great consistency in my female scientist character.

But what if you don’t want your character to look like a famous person?
You can either use a different method (6 more covered below!), or use a trick a clever Reddit user figured out.
You can base your character on famous people, but then use a sex and ethnicity swap to generate pretty consistent characters that don’t look exactly like famous people. Post on Reddit here.
To create female characters use this prompt:
[Chris Pratt | henry cavill] as a 25 year old sexy gorgeous thai female mechanic, blue hair, wispy bangs, ((thicc)), (((dirty clothes))), smiling, stunningly beautiful, zeiss lens, half length shot, ultra realistic, octane render, 8k
Negative: Male, man, cartoon, 3d, video game, unreal engine, illustration, drawing, digital illustration, painting, digital painting, sketch, black and white
To create male characters use this prompt:
[Brittany Spears | Vanessa Hudgens] as a 25 year old jacked handsome Jamaican male mechanic, buzzed haircut, chiled jaw, ((swole)), ((huge biceps)), (((dirty clothes))), smiling, stunningly handsom, zeiss lens, half length shot, ultra realistic, octane render, 8k
(Same negative prompts as above.)
The results are pretty good. Here I based my female scientist off of Chris Pratt and Henry Cavill gender swapped, and we get a consistent female character, that doesn’t look like a famous person.
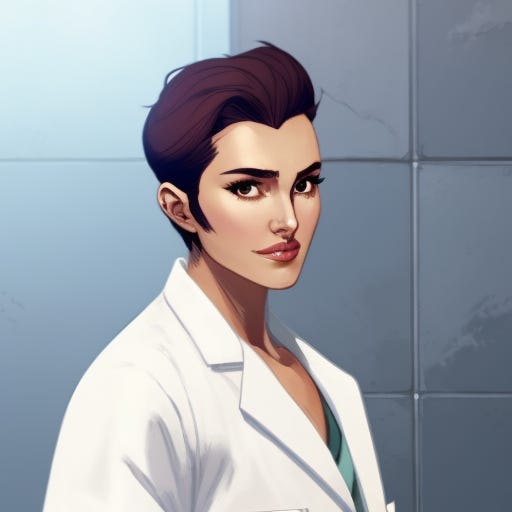
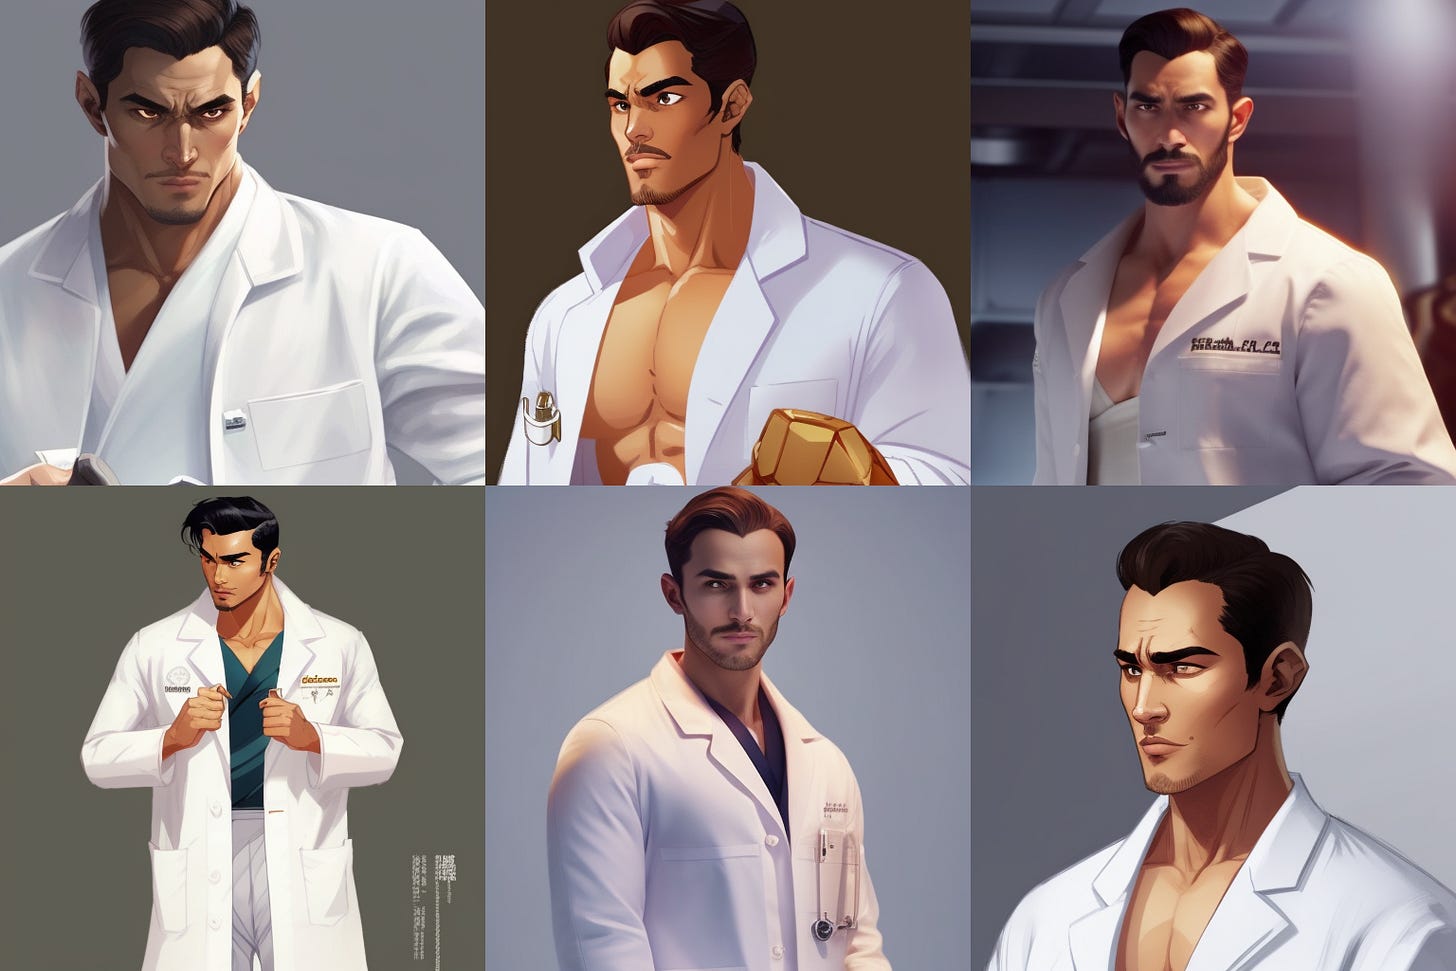
A downside is that some models and famous characters are easier to work with. The model I was using had a much harder time going from a female famous person to a male not famous person.
The first results for a male scientist based on Natalie Portman looked like this:
It took some tweaking of the prompt and a bunch of generations to get these results:
You can also use similar prompt tricks and skip the famous person to create consistent characters. Which is method two.
2 - Add more prompt details
If you prompt Stable Diffusion for a male scientist, you are going to get lots of different types of characters.
I used this prompt:
a male scientist, zeiss lens, half length shot, ultra realistic, octane render, 8k
and got 8 different characters:
Just by adding more details to our prompt, we can improve our results significantly.
If you add details for ethnicity, haircut, face structure to your prompt it will narrow the range of results. This time we use the prompt:
A 25 year old jacked handsome thai male scientist, buzzed haircut, chisled jaw, ((biceps)), (((White lab coat))), dark hair, stubble on face, holding up a (glowing test tube), smiling, handsome, zeiss lens, half length shot, ultra realistic, octane render, 8k
and we will get a more consistent character.
Because Stable Diffusion generates such a wide variety of output, you still have to pick and chose what images you want to use.
A technique you can use with both
Method 1 - Use standard characters and
Method 2 - More prompt detail
is generating a lot of images, and then picking only the images that show your consistent character. I call this ‘Finding your character in the crowds’ and it is the 3rd method we will talk about.
3 - Finding your character in the crowds
In a nutshell, this technique is to make tons of images and pick the best most consistent ones.
I took the original generic male scientist prompt and asked for images of him in 4 different scenarios:
just the character
holding test tube
looking at computer
in a tunnel
In total I generated 212 images.
I went through each one, grouping them into types and characters. In those 212 images I managed to find 4 primary groups.
Any character
There were lots of images that could have been any character. They were too far away from the camera or wearing gear that hid their identity. That is good! I can use them for any character.
Mr. White
I found a consistent white hair, blue-ish bearded male scientist character. He wears glasses, dresses stylishly and doesn’t smile.
Assistant Ted Red
I also found Mr. White’s young red haired assistant. He has nicely coifed hair, and is an explorer.
Dr. Beard
Finally I found the villain of our story, Dr. Beard.
The ‘Find in the crowd technique’ uses quantity over quality. And it is a lot of work.
One way to save time is to use variations to get closer to your character. That is our 4th method for creating consistent characters.
4 - Run variations to get closer to your character
If you find an image that you like, but the characters doesn’t look like your character, you can use image2image to get closer.
For example I found this image of a scientist holding a glowing test tube.
I want Dr. Beard our villain to be holding a test tube. So I can use this image as an input in image2image. I can enter the prompt that matches the original image, but then change it to reflect my character.
I used the prompt:
‘A 45 year old male scientist, holding a glowing test tube, brown short beard, round thin glasses, angry, handsome, zeiss lens, half length shot, ultra realistic, octane render, 8k, medium length hair in a library’
I added ‘brown short beard, round thin glasses, angry, medium length hair in a library’ to redirect it to be more like Dr. Beard.
After I ran it a bunch of times and eventually we got something much closer to Dr. Beard.
I could then use inpainting to add back in the glowing test tube if I wanted.
All of the four methods covered so far rely on good prompting and work.
The next three methods all take advantage of the open source nature of Stable Diffusion.
The best thing about Stable Diffusion is that is open source, meaning we can change and modify the model and code to do what we want.
There are 4 additional methods we can use to get consistent characters where we are making modifications to the model itself. Let’s start with the easiest one, Textual Inversion
5 - Textual Inversion
The basic idea behind Textual Inversion, is we can teach Stable Diffusion to learn to generate specific concepts, like personal objects or artistic styles, by describing them using new "words". This new word is an embedding, which you can add to a pre-trained text-to-image model. Then you can use the new word in a new sentence to create images of it.
Stable Diffusion starts from random noise, and then tries to create from that noise the object that you prompt.
By training a new ‘word’, Stable Diffusion can create images of it. If Stable Diffusion knows how to create a cat because it was trained on images of cats, I can give Stable Diffusion a couple of images of red pandas, and ask Stable Diffusion to learn what the word ‘RedPanda’ means. Once it has trained on that concept, Stable Diffusion will then be able to create an image of a red panda.
All you need is a 5-30 images of your subject, and a computer that has enough GPU memory to train. If your computer isn’t powerful enough, you can train textual inversions using several online services.
I wrote an entire article on Textual Inversion here. Read that article for how to train on a computer or using Google Collab.
Using the Textual Inversion method can be hit or miss. A more effective method is to instead of training just an embedding, train the whole model. This is what Dreambooth does, and is our next method.
6 - Dreambooth
Dreambooth is a method from a paper released by Google, of fine-tuning existing text-to-image models like Stable Diffusion, using only a few of your own images.
Like Textual Inversion, Dreambooth creates a new ‘word’ that the model understands, but importantly Dreambooth retrains the entire model, integrating the new "word" instead of just applying it over the top. Dreambooth training creates connections with other words in the models’ vocabulary so it can draw the new word/subject combined with other ideas.
I wrote a whole article about what Dreambooth is and how to use it here.
I trained a model on a friend using Dreambooth, and these are some of the results I can generate with it.
Out of all the methods, Dreambooth works the best. It is the most ‘expensive’ in terms of file size and GPU requirements, but it is very effective at creating consistent characters.
The downside to Dreambooth is that you need to train a whole model to be able to create one concept. This means if you do a lot of training you have multiple 2-4 GB models for each person, object, or style you are training.
It also means that if you find a cool new Stable Diffusion model (article about model creation and remixing coming soon!) you have to train it using Dreambooth on your character. Sometimes this training can wipe out the concept that the model was tuned to. For example if you wanted to use the model Arcane Diffusion which was trained on images from Netflix's show, to show your own face, you would need to use Dreambooth to train the Arcane model with your face.
Since Textual Inversion can be applied on top of any model, that is one solution but Textual Inversion quality sometimes is low.
Luckily for us, a new training method has entered the chat. Meet Lora…
7 - LoRA
LoRA is the new kid on the block in terms of Stable Diffusion training methods.
LoRA aka Low-Rank Adaptation of Large Language Models is a new technique introduced by Microsoft researchers to deal with the problems of fine-tuning large-language models. This article by HuggingFace explains it well, if a bit technically.
I haven’t personally used LoRA yet, but I will release a whole episode in the future about it.
That being said LoRA is attractive for many reasons:
You can apply LoRA trained files ontop of any other model
Training is faster and cheaper
The files are 10-300 MB instead of the larger 2-4 GB files that Dreambooth produces
This article from a YouTuber I trust goes over how to train a LoRA file, and then how to use it:
I will be testing LoRA extensively, so look for an email all about it soon.
The best part of all these methods is you can mix and match them. This leads us to the last method
8 - One of Everything
Imagine you want to create a consistent character for a comic book. You can mix and match all the different methods we have covered so far to help you get it done.
Here are the methods:
Use standard characters
More prompt details
‘Find’ your character in the crowds
Run variations to get closer to the character
Textual Inversion
Dreambooth
LoRA
You could start by using standard characters as a base, doing the swap so they don’t look completely standard.
Then you could add more prompt details to narrow the character down and add specific details you want.
Then you could generate a bunch of images to find your character in the crowd, and run variations to make sure they match up well and are consistent.
Once you get 5-20 image of your character in different poses and situations, you can use a training method like Textual Inversion, Dreambooth, or LoRA to create a model file that can create your character consistently across many scenarios.
If you use these methods to create characters, I would love you to share what you create in the comments, or let me know if I have missed a method!
See you next week,
-Josh


👏👏
Wow. Thanks so much for this. I had been fumbling along with SD and your tutorial put things in much better perspective. a consistent character has been the holy grail for a couple of weeks now. I want to be a pro at Dreamboat and Lora! No more dealing with the egos of prima donna artists demanding money from me for half-assed artwork just because I don't have their kind of talent. Now AI can do it for me.